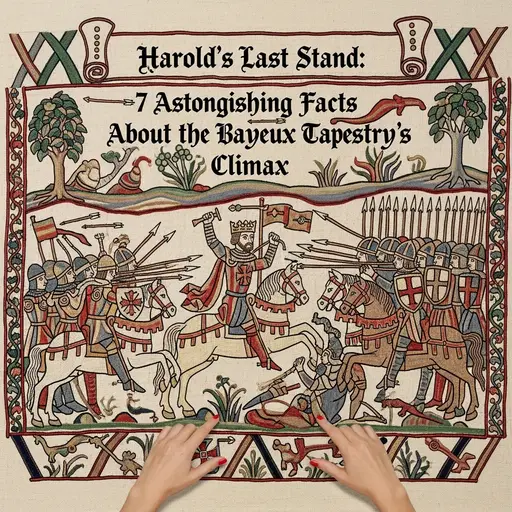
1. Harold's Death: The Infamous Arrow
The Eye Wound That Ended a Reign: Evidence suggests Harold Godwinson, King of England, met his demise struck by an arrow to the eye, a pivotal moment vividly rendered in the tapestry. This detail, though debated in its literal accuracy, symbolizes the end of Anglo-Saxon rule and the tragic fate of a monarch. Modern interpretations often focus on the pathos and strategic significance of this embroidered casualty, marking the tipping point in the Battle of Hastings. The artistry here is key to understanding the tapestry's narrative power.
Close-Quarters Combat
8. Swords, Axes, and Hand-to-Hand Struggle: Beyond the ranged archery, the embroidered narrative captures the brutal reality of close-quarters combat. Witness the detailed rendering of hand-to-hand fighting with swords and axes. These scenes emphasize the ferocity and personal nature of the battle, revealing the close-knit struggles that unfolded on the battlefield. The graphic depiction of violence underscores the high stakes of the Norman invasion.
Norman Cavalry Unleashed
Horses and Knights in Ferocious Charge: The tapestry vividly illustrates the impact of Norman knights and their cavalry charges against the English lines. This depiction showcases the military innovation of the era and the sheer power of mounted warfare as a dominant force. The dynamic scenes of charging horses and armored figures are a testament to the skill of the embroiderers and provide invaluable insight into medieval combat tactics.
The Defiant English Shield Wall
A Fortress of Shields: Witness the formidable English shield wall, a defensive formation that initially blunted the Norman cavalry charges. This tightly packed defence signifies the resilience of Harold's army. The Bayeux Tapestry meticulously portrays this unbroken line, highlighting the determination of the Anglo-Saxon soldiers before their eventual disarray. Understanding this defensive tactic is crucial for appreciating the battle's ebb and flow.
The Turning Tide: Feigned Retreats
Deception and Disarray on Senlac Hill: The Bayeux Tapestry subtly yet effectively depicts Norman 'feigned retreats', a tactic used to lure the English from their shield wall, breaking its integrity. This strategic ploy proved critical in turning the tide of the battle. The visual cues in the tapestry, though open to interpretation, strongly suggest this maneuver exploited a perceived English overconfidence, leading to devastating consequences for their formation.
